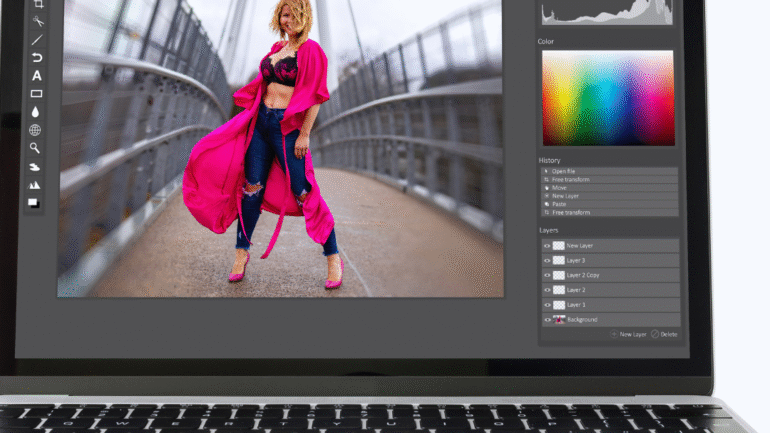
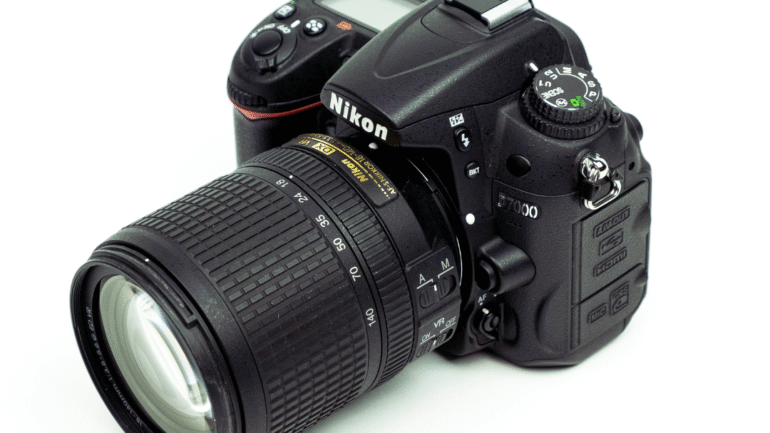
In the digital age, the quality of photographs can significantly impact professional success. To achieve professional-quality results, one must focus on mastering the fundamentals of editing, using the right tools, and applying effective techniques. Whether for personal projects or business needs, understanding how to enhance images can elevate their appeal dramatically.
Photo editing software offers extensive features that can transform an ordinary shot into a captivating visual. Learning to adjust exposure, contrast, and color balance can create a polished look that grabs attention. Additionally, utilizing cropping and retouching techniques can refine photos, ensuring they convey the intended message.
Investing time in photo editing skills can yield impressive outcomes. With the right approach, anyone can turn a simple image into an eye-catching masterpiece that stands out in any context.
Mastering the Basics of Professional Photo Editing
To achieve professional-quality results in photo editing, it is essential to understand core concepts. Key areas include image resolution, file formats, essential adjustments such as exposure and color balance, and non-destructive editing techniques. Mastery of these basics sets the foundation for high-quality images.
Understanding Image Resolution and File Formats
Image resolution determines the clarity and detail of a photo. It is measured in pixels per inch (PPI). Higher resolutions result in sharper images, which are crucial for printing or large displays.
Common file formats include:
- JPEG: Compressed, widely used, but lossy.
- PNG: Lossless compression, supports transparency.
- TIFF: High-quality, often used in professional settings.
- PSD: Photoshop’s native format, preserving layers and quality.
Choosing the right format is vital based on the intended use.
Essential Adjustments: Exposure, Contrast, and Color Balance
Exposure adjustments correct brightness levels. Underexposed images appear dark, while overexposed ones lose detail. Photoshop offers levels and curves tools for precise control.
Contrast enhances the difference between light and dark areas, providing depth. A simple adjustment tool can significantly improve image interest.
Color balance is crucial for accurate color representation. Using Photoshop’s color balance tool helps adjust shadows, midtones, and highlights, ensuring colors look natural. Regular use of these adjustments contributes to professional results.
Non-Destructive Editing Techniques
Non-destructive editing allows photographers to make changes without permanently altering the original image. This approach is essential for experimentation and flexibility.
Key techniques include:
- Adjustment Layers: Apply corrections while retaining the original image layer.
- Smart Objects: Enable scalable edits and preserve quality.
- Layer Masks: Gradually reveal or hide portions of layers to refine images.
By using these techniques in Photoshop, editors maintain the integrity of their work while allowing for easy revisions. This approach fosters creativity and leads to polished, professional-quality outcomes.
Advanced Techniques for High-Quality Results
Achieving professional-quality results in photo editing involves mastering several advanced techniques. These methods enhance the overall look of images while preserving detail and clarity. Key areas of focus include skin retouching, sharpening, noise reduction, and effective dodging and burning.
Retouching Skin and Portrait Enhancements
Retouching skin is crucial for achieving a flawless appearance in portraits. Start by using the Clone Stamp or Healing Brush tool to remove blemishes, scars, and wrinkles. Care should be taken to maintain texture, ensuring that skin retains a natural look.
Next, consider adjusting skin tones using Selective Color or Hue/Saturation. This adjustment should enhance the portrait without introducing unnatural hues. Utilizing Frequency Separation allows finer control in maintaining details while smoothing skin.
Finally, incorporating Dodge and Burn techniques can emphasize facial structure. By gently lightening and darkening specific areas, the subject’s features become more pronounced. This method adds depth and dimension, elevating the overall quality of the image.
Sharpening and Noise Reduction
Sharpening enhances photo clarity, making details pop. The Unsharp Mask and Smart Sharpen are effective tools for this purpose. Apply sharpening carefully; excessive sharpening can create unwanted artifacts.
To mitigate noise, especially in images shot in low light, use noise reduction tools like Reduce Noise or Selective Color adjustments. These tools can smooth out graininess while preserving important details.
Applying noise reduction should be done in moderation. A balance between sharpness and smoothness is essential. Often, it will require multiple passes, adjusting levels gradually to reach the desired clarity without sacrificing image quality.
Dodging and Burning for Depth
Dodging and burning is a technique used to control exposure on specific areas of an image. This technique enhances depth and dimension by adjusting light and shadow.
Using a soft brush with low opacity, light areas can be subtly brightened. Conversely, dark areas can be deepened to create contrast. This can be done on a new layer to allow for non-destructive editing.
Maintaining a natural look is important. Therefore, subtlety is key; small changes can yield significant effects. Successfully applying dodging and burning techniques results in a more dynamic image that captivates viewers.
Creative Editing and Efficient Workflow
Effective photo editing combines creativity with a streamlined workflow. By mastering background editing, utilizing batch editing, and applying color grading techniques, one can achieve professional-quality results efficiently.
Background Editing and Object Removal
Background editing is crucial for enhancing the subject of a photograph. It involves removing distractions or unwanted elements that divert attention. Techniques such as layer masking and selection tools in software like Adobe Photoshop allow for precise adjustments.
Using tools like the Clone Stamp or the Content-Aware Fill, one can efficiently remove objects without leaving traces. Adjusting the depth of the field also helps, making the subject stand out. A clean background elevates the overall quality, guiding the viewer’s focus to the main subject.
Using Batch Editing for Consistent Results
Batch editing streamlines the workflow by allowing multiple photos to be edited simultaneously. This approach is particularly useful when working with large sets of images, such as in event photography.
Software options such as Lightroom and Photoshop provide batch processing features. Actions or presets can be created to apply consistent edits across a series of images. Common edits include resizing, applying filters, and color correction. This method saves time while ensuring a cohesive look throughout the collection.
Color Grading and Styling
Color grading adds a distinctive style and mood to images. It involves adjusting hues, saturation, and luminance to create a unified aesthetic. Popular tools include Curves, Color Balance, and HSL adjustments.
Understanding color theory helps in making informed decisions about color combinations. For instance, complementary colors can enhance visual appeal. Creating a consistent color palette across images strengthens branding for photographers.
Simple adjustments such as adding vignetting or altering contrast can also enhance the image’s emotional impact. With careful attention to these techniques, one can significantly elevate the quality of photos.


