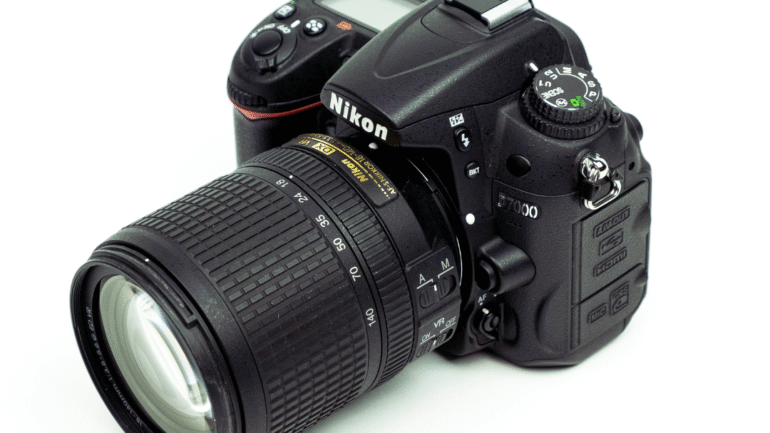
Capturing stunning images in low-light conditions can be a challenging yet rewarding experience for photographers. By understanding the essential techniques for low-light photography, anyone can transform dimly lit scenarios into breathtaking visuals. This skill not only enhances one’s portfolio but also opens up a world of creative possibilities in various settings.
Using the right equipment and settings is crucial when tackling low-light photography. A camera with better sensitivity to light, along with a steady hand or tripod, can make a significant difference in the quality of the photos. Knowledge of adjusting aperture, shutter speed, and ISO is vital for achieving clarity and depth in such conditions.
Practicing these techniques can help photographers become more confident in their ability to create striking images, even when the lighting is not ideal. With a little patience and experimentation, it’s possible to master low-light photography and create captivating pictures that resonate with viewers.
Mastering Camera Settings for Low-Light Photography
Achieving stunning photography in low-light conditions requires understanding key camera settings. Adjusting ISO, optimizing aperture, manipulating shutter speed, and utilizing manual mode are critical for capturing clear and vibrant images in dim environments.
Understanding ISO and High ISO
ISO refers to the camera sensor’s sensitivity to light. In low-light conditions, increasing the ISO setting enhances this sensitivity, allowing for better image capture. However, using higher ISO settings can introduce noise, which reduces image quality.
Common ISO settings for low-light photography range from 400 to 6400 and beyond. Photographers should test their camera’s high ISO performance to find the optimal balance between brightness and noise. It’s essential to adjust the ISO thoughtfully, as every camera has a threshold beyond which noise becomes unacceptable.
Optimizing Aperture and Depth of Field
Aperture controls the amount of light entering the camera through the lens. A wider aperture (lower f-number, e.g., f/1.8, f/2.8) allows more light, improving low-light performance.
Using a wide aperture also affects depth of field, creating a blurred background that emphasizes the subject. This is especially useful for portraits and isolating elements in low light. Photographers should consider the creative impact of aperture while ensuring sufficient light reaches the sensor for optimal exposure.
Controlling Shutter Speed and Exposure
Shutter speed determines how long the camera’s sensor is exposed to light. In low-light photography, a slower shutter speed allows more light but risks motion blur.
To avoid this, use a tripod or stabilize the camera. As a rule of thumb, the shutter speed should be at least the reciprocal of the lens’ focal length. For instance, with a 50mm lens, a shutter speed of 1/50 seconds or faster generally provides clearer results. Experimenting with various shutter speeds can yield creative effects as well.
Leveraging Manual Mode and Focus Techniques
Manual mode grants photographers complete control over settings, allowing adjustments to ISO, aperture, and shutter speed for optimal results. This is crucial in low-light situations where automatic settings may not suffice.
When focusing in low light, challenges arise due to decreased visibility. Tools like focus peaking assist in achieving precise focus, making it easier to see the focused area. Manual focus is advantageous, as it provides accuracy that autofocus might struggle to deliver in dim environments. This approach ensures that the subject remains sharp, enhancing the photograph’s overall clarity.
Essential Gear and Accessories for Low Light Conditions
Selecting the right gear is crucial for photography in low-light situations. Certain accessories enhance stability, control light effectively, and support better image quality.
Stabilization: Tripods and Image Stabilization
A sturdy tripod is essential to prevent camera shake during long exposures. It provides a stable platform, allowing for sharp images even in dim conditions. Select a tripod that matches the weight of the camera and lens to ensure stability.
Many modern cameras feature in-body image stabilization (IBIS). This technology compensates for small movements, making handheld shooting viable. When using a tripod, turning off IBIS can help prevent sensor and lens conflicts.
Remote shutter releases can further reduce camera shake by letting photographers take pictures without physically touching the camera. This combination of tools enables clearer, sharper images even in low light.
Using Light Sources and Artificial Lighting
In low-light photography, incorporating artificial light sources is beneficial. A quality flashlight or a headlamp can provide illumination for subjects, enhancing detail and depth in the image.
Using diffusers or reflectors can soften harsh light, reducing unwanted shadows. Understanding lighting effects can deeply influence the creative aspect of photography. Both natural and artificial sources can be used creatively to shape the scene.
Portable LED lights also serve as versatile tools for different situations. They can be adjusted for brightness, allowing careful control over exposure without overwhelming the subject.
Choosing the Right Camera and Accessories
Mirrorless cameras often perform better in low-light conditions due to their advanced sensors and focus systems. When selecting a camera, low-light capabilities, such as noise handling, should be considered.
Extra batteries and high-capacity memory cards are crucial. Extended shooting sessions drain cameras quickly in low light. Photographers should carry additional supplies to ensure they capture every moment.
Lastly, a quality camera bag can protect gear while offering easy access. Well-organized storage enhances efficiency, particularly when changes need to be made quickly. The right accessories ensure a photographer remains prepared and flexible in challenging lighting conditions.
Creative Techniques and Composition in Low Light
Capturing stunning images in low light involves clever techniques that enhance creativity and composition. By managing factors like noise and contrast while employing special methods, photographers can transform low-light environments into alluring visuals.
Managing Noise and Enhancing Contrast
Noise is a common challenge in low-light photography. It manifests as grainy artifacts that detract from image quality. Photographers can reduce noise by using a lower ISO setting, yet this often requires longer exposure times, potentially causing motion blur. To strike a balance:
- Increase Exposure: Brighten the image and improve signal strength while keeping ISO low.
- Post-Processing Tools: Use software like Adobe Lightroom or Noise Ninja to reduce noise effectively. These applications can selectively decrease noise while preserving important details.
- Contrast Adjustment: Enhancing contrast can mask some noise. Utilize tools that allow for selective contrast adjustments, focusing on key subjects to draw attention.
Long Exposure and Light Painting
Long exposure photography is a powerful technique for capturing dynamic scenes in low light. This method allows the camera to gather light over an extended period, resulting in beautifully illuminated images.
- Stable Tripod: Always use a tripod to prevent camera shake during long exposures. Even slight movement can lead to blurred images.
- Light Painting: Incorporate a flashlight or sparklers while the shutter is open. This technique allows for creativity, adding interesting light streaks against dark backgrounds.
- Exposure Settings: Start with an exposure time of 15-30 seconds. Adjust depending on the amount of ambient light available, ensuring key elements are lit without overexposing highlights.
Maximizing Creativity with Reflections and Shadows
Reflections and shadows can add depth and intrigue to low-light scenes, enhancing composition. This method encourages photographers to think creatively about their surroundings.
- Water Reflections: Capture city lights or moonlight reflecting off water bodies. Look for still water to achieve sharp, mirror-like reflections.
- Shadow Play: Use ambient light to create dramatic shadows. Position subjects to emphasize shadow patterns, adding another layer to the photography.
- Perspective: Challenge positioning. Experiment with angles to create unique compositions, drawing from both reflections and shadows to create dynamic visuals.
Perfecting Composition and Blurry Images
In low light, achieving a sharp image can be difficult. However, he or she can use intentional blur to enhance artistic expression.
- Focus Points: Identify focal points and keep them sharp while allowing the background to blur. This approach creates a sense of movement and dynamism.
- Abstract Blur: Experiment with camera movement during exposure. Slight, deliberate shifts can produce artistic blurred effects, turning ordinary scenes into captivating compositions.
- Rule of Thirds: Maintain strong composition by employing the rule of thirds. Position subjects along gridlines or intersections to create balance and visual interest, even in imperfectly sharp images.
These techniques encourage creativity and help to maximize the potential of low-light photography.
Enhancing Low-Light Photos Through Post-Processing
Effective post-processing is essential for enhancing low-light photos. It allows the photographer to optimize dynamic range, improve detail, and manage noise, resulting in stunning images.
Editing Raw Files and Dynamic Range Optimization
Starting with raw format files provides significant advantages. Raw images retain more data than JPEGs, enabling greater flexibility in editing. Photographers can adjust exposure, contrast, and shadows without compromising image quality.
Dynamic range optimization is crucial in low-light conditions. By using editing software, such as Adobe Lightroom or Capture One, one can adjust highlight and shadow sliders. This technique recovers details lost in dark areas.
The goal is to create a well-balanced image, maintaining brightness without losing essential details. Graduated filters can also help in managing exposure across different areas, ensuring a natural look.
Sharpening and Reducing Noise in Post
In low-light photography, noise can be a significant issue. Utilizing noise reduction tools in post-processing software is vital to enhance image quality. Programs like Photoshop have specific sliders for luminance and color noise, allowing precise control.
Sharpening can improve clarity, but it must be done carefully. Over-sharpening may introduce artifacts, particularly in low-light images where details can be fragile.
A common technique is to apply sharpening selectively, focusing on areas that require more detail while avoiding smooth, darker areas prone to noise. Using layer masks in Photoshop allows targeted application, enhancing the image without amplifying unwanted noise.


